Ethernet communication to the S7-200, S7-300, or S7-400 PLC is typically accomplished by adding a Siemens CP, communications processor to the PLC rack. Another option is to utilize a serial to Ethernet converter, such as the ACCON NetLink-Pro. There are a couple of key steps to configuring this adapter to enable it to work with the Siemens PLC.
This section is not meant to be the authoritative source for configuring the ACCON NetLink-Pro adapter, refer to the adapter manufacturer's documentation for full details on configuring and using this adapter.
Configuring the ACCON NetLink-Pro
The ACCON NetLink-Pro contains a web application that can be accessed to modify its network and communication parameters.
- Open a web browser and enter the IP Address of the
ACCON NetLink-Pro adapter.
In this example the adapter has the IP Address of 192.168.2.158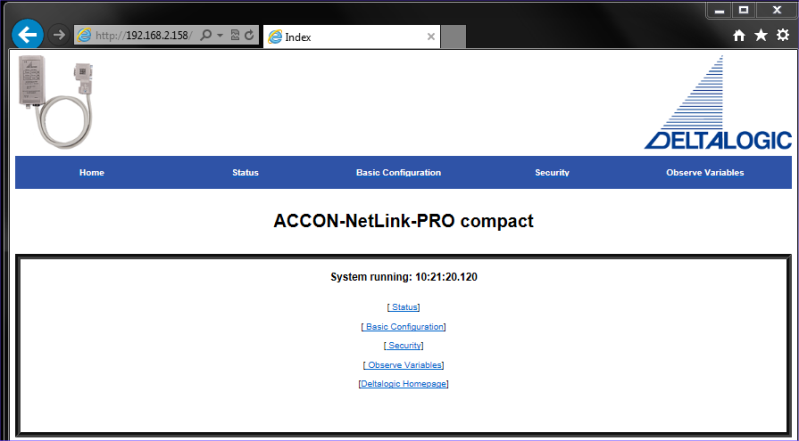
- Select Basic Configuration in the
top center of the panel to begin the process of
configuring the serial to Ethernet adapter.
- Login to the unit. Consult the ACCON NetLink-Pro
documentation for the default user ID and password if
configuring it for the first time. For security reasons
these values should be changed after the first time it
is used. The Basic Configuration panel
will be displayed upon successful login.
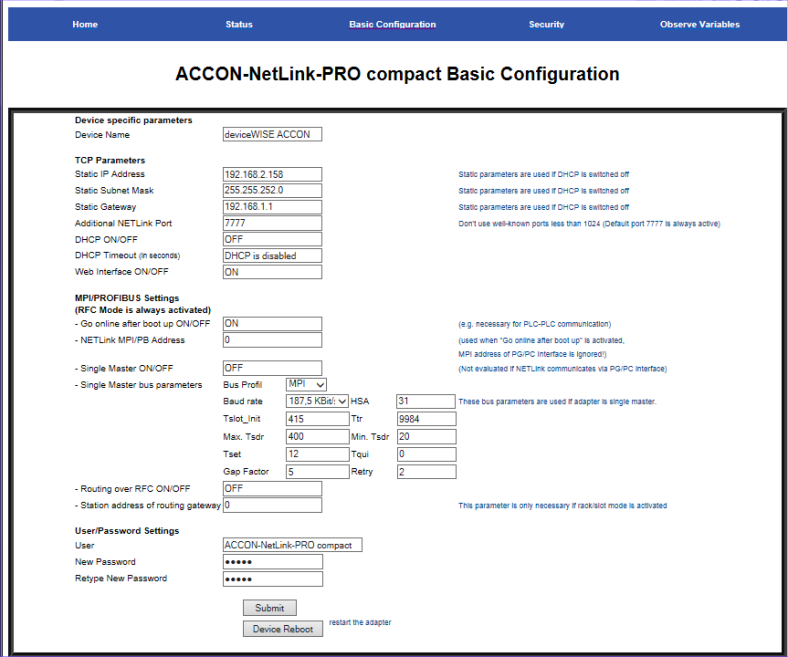
- Modify the IP Address, Subnet Mask, and Gateway
network settings to values that are appropriate for
your network.
- A value of "ON" should be entered in the Go
online after boot up ON/OFF field.
- The value entered in the NETLink MPI/PB
Address field will contain the address that
will be used to identify the ACCON NetLink-Pro on the
PLC bus. This value must be unique among the other
devices connected on the bus. It must be less than the
Highest Station Address defined on the
bus. The Siemens Step 7 software will provide the
address values for all devices connected to the bus, as
well as the Highest Station Address
value.
- Select the value in the Baud rate
field to match the baud rate setting of the S7 PLC that
the ACCON NetLink-Pro is attached.
The S7-200 PLC defaults to a baud rate of 9600, while the S7-300 and S7-400 default to 187.5. - Select the Submit button to save
the configuration changes that have been made. A new
panel will be displayed, showing the configuration that
you are attempting to save.
- Select the Store button to save
the configuration changes and restart the ACCON
NetLink-Pro apadter.
- If the configuration steps were done using an
Ethernet cable connected directly to your PC, it is now
time to connect the Ethernet port of the ACCON
NetLink-Pro adapter to your network.
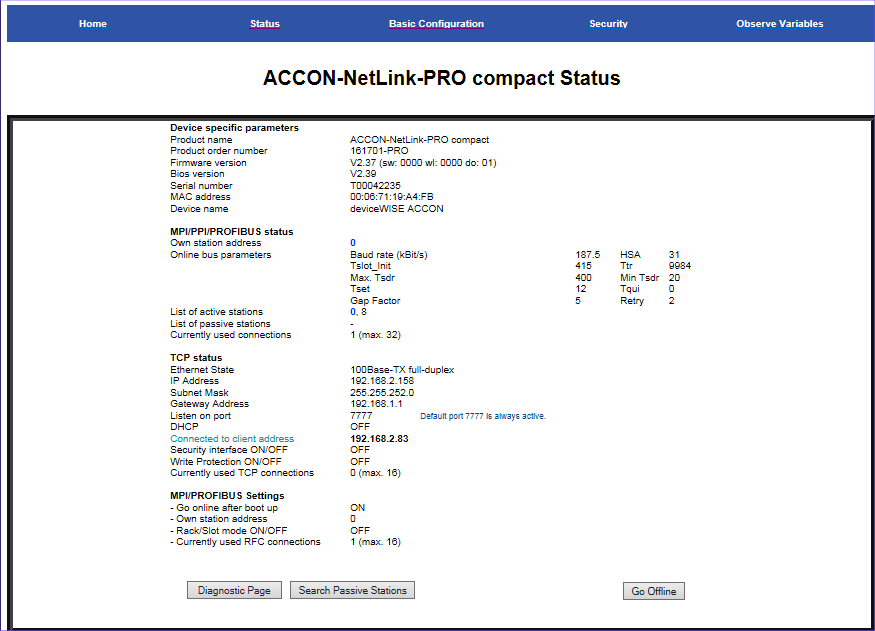
- Once the ACCON NetLink-Pro is on the network, you
can view the connection information by selecting
Status in the top center of the
panel.
- Use the Workbench to create a device definition to
connect to the S7 PLC, via the ACCON NetLink-Pro
adapter's IP address.