The purpose of this document is to present the steps needed to create a Custom Payload based of TCP Listener.
Assumptions
This pages assumes that you understand how to create a transport and are ready to develop a custom payload format. Some of the pre-requisites to follow the steps bellow are:
-
Skill Level: Java Developer
-
Eclipse (IDE)
-
deviceWISE Enterprise 23.04 or later
-
DW Projects zip (click here and you'll download a trusted archive with all the needed elements to create the Custom Payload). The files would be:
-
dwtcpcustom.zip
-
Project_TCP_Custom_Listener.dwx
-
Jar_xml_binding_jaxb.zip (Click here for the Jaxb Tutorial)
-
Package Sender installer
-
XML Example
-
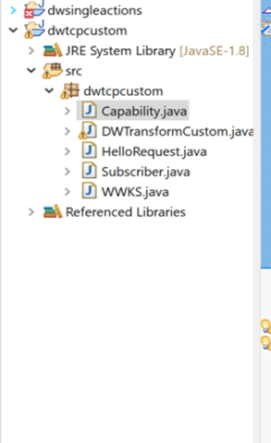
The dwtcpcustom project is required to generate the dwtcpcustom.jar file
Setting Up Eclipse (IDE) and importing dwtcpcustom project
-
Make sure you downloaded the linked zip and have access to the dwtcpcustom.zip. Unzip it in a local folder.
-
Import the Project from Eclipse
-
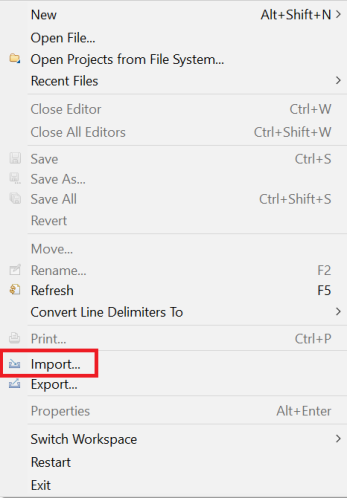
Select File > Import
-
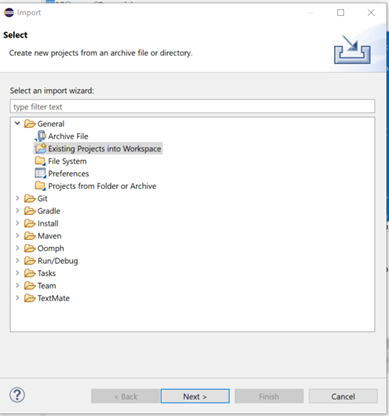
Click on Existing Projects into the Workspace menu item
-
Click Next
-
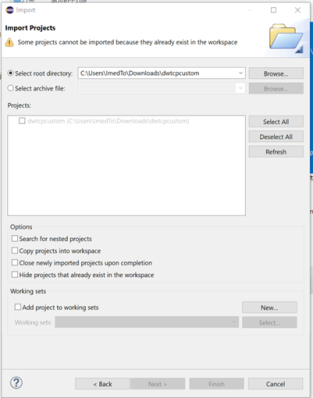
Select Root Directory, select Browse, and then go to the location where you unzipped the dwtcpcustom project. Finally, click on Finish
-
Validate the output folder on Eclipse
-
Unzip the Jar_for_xml_binding_jaxb.zip in the C:\Program Files\deviceWISE\Gateway\dwjava
-
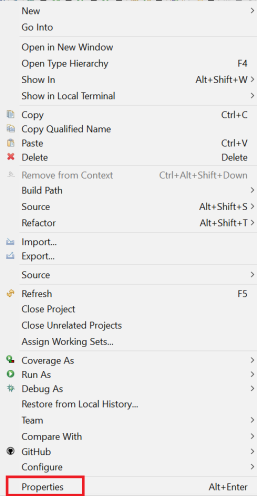
From the Eclipse IDE, right click the dwtcpcustom and select Properties
-
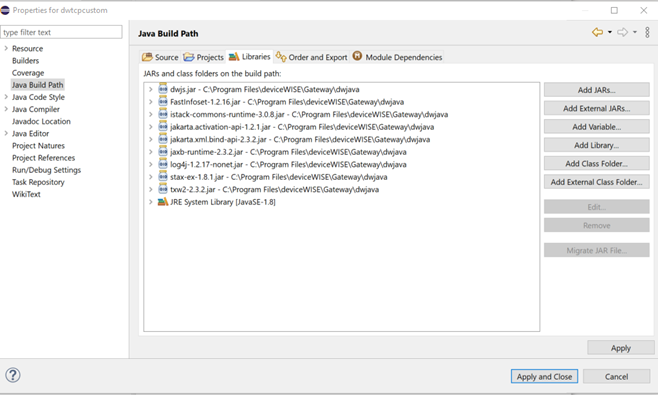
Navigate to the Build Path, select Libraries, point all the necessary jar files from the C:\Program Files\deviceWISE\Gateway\dwjava
-
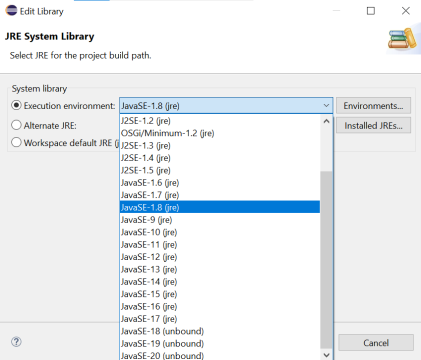
Change the JRE version to 1.8
-
Apply and close.
-
Install the Package Sender (also included on the zip linked at the top of this document).
Finally, Export the project and Output the JAR file to Staging folder.
Exporting Jar file
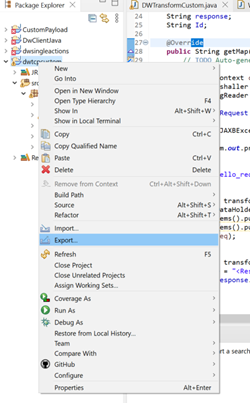
Firstly, select the imported project, right click it and select Export
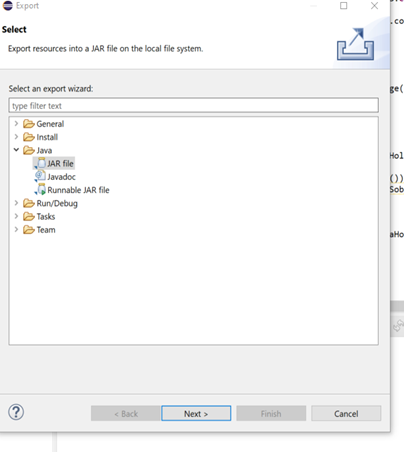
Select the option JAR file, and click Next
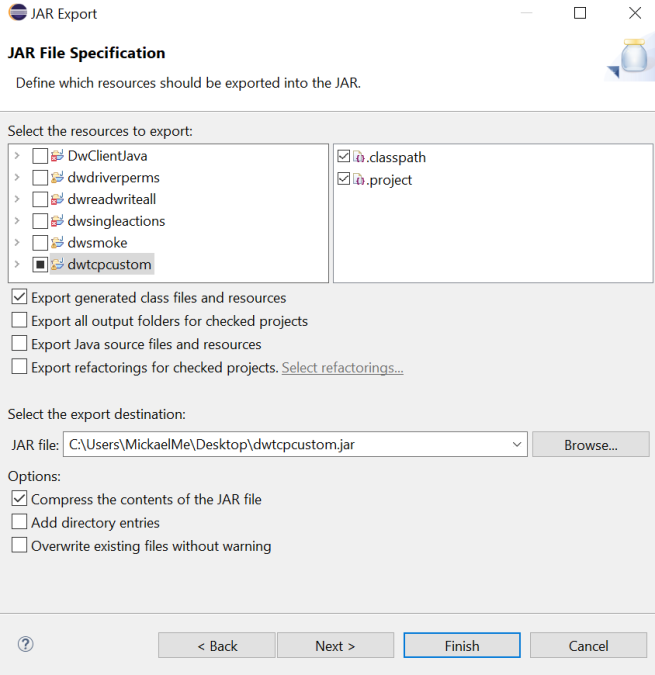
Finally, select the dwtcpcustom project, check the box "Export generated class files and resources", define the path where the file will be exported to, and under Options, check Compress the contents of the JAR file. Click Finish, as shown on the printscreen bellow.
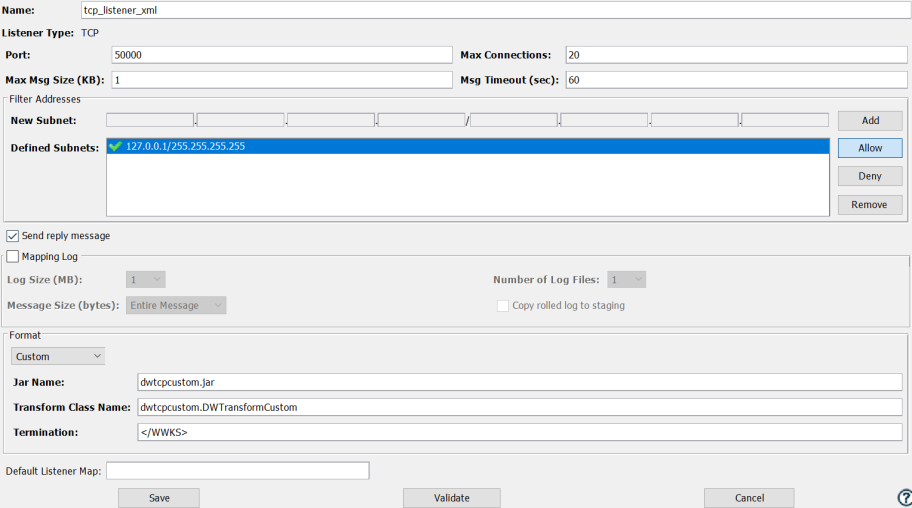
Creating a Listener and Listener Map on the Workbench
To setup the deviceWISE Transaction Server, go to the Workbench and Select Project > Import > Project_TCP_Custom_Listener.dwx
Navigate to the Enterprise > Listeners and make sure the project got imported successfully. Check for both Listeners and Listeners Maps Tabs, as shown below.
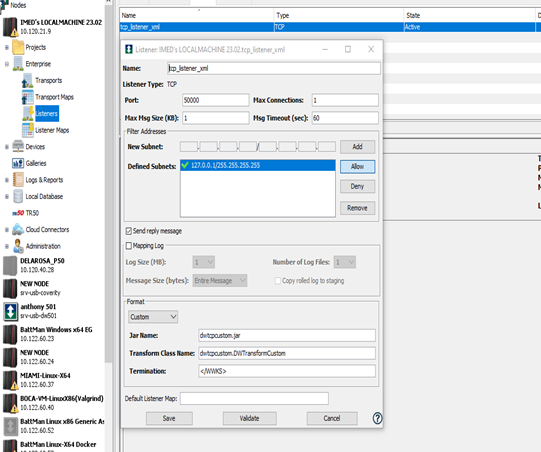
Ensure you create a dwtcpcustom.jar from Eclipse IDE and Enter it as specified in the Listener.

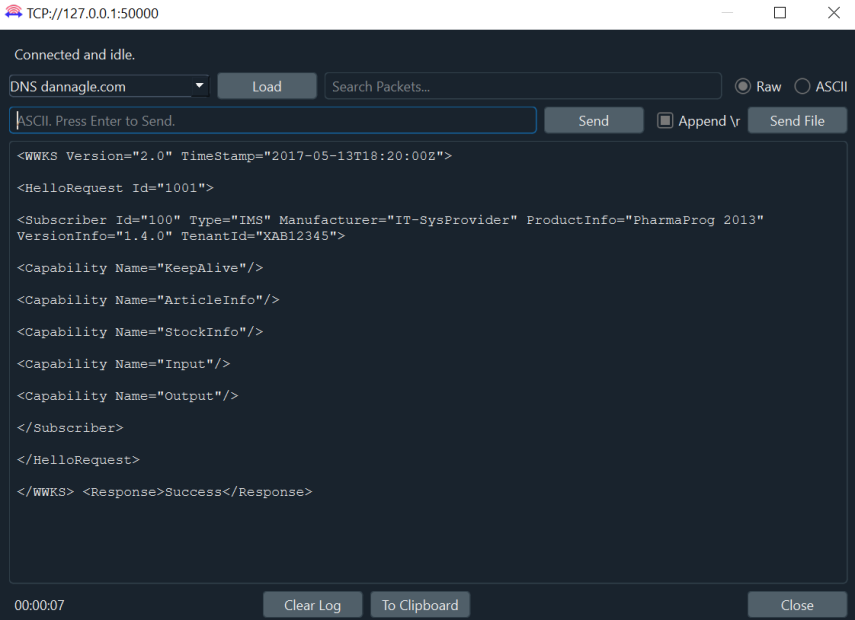
Setting up the Packet Sender
Launch the packet Sender, it should appear as bellow:
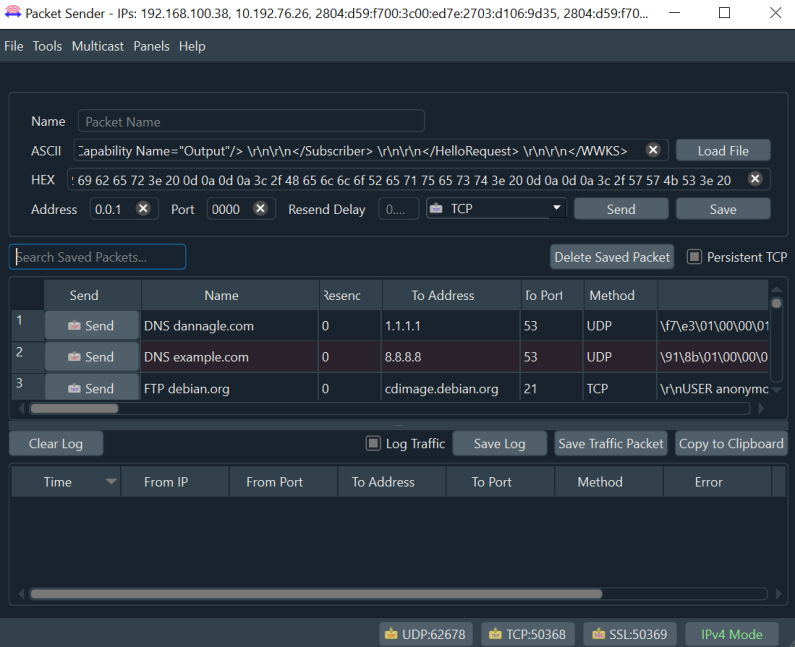
Select Load File button, Browse to the Example File. Check Persistent TCP Check Box and Send in the TCP package.
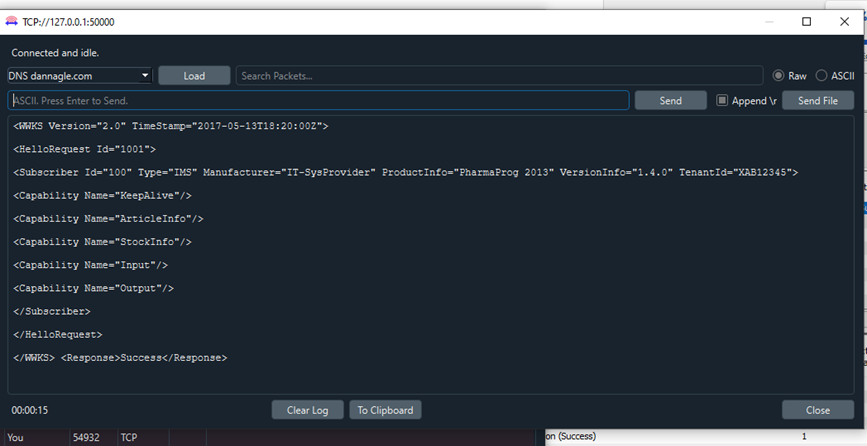
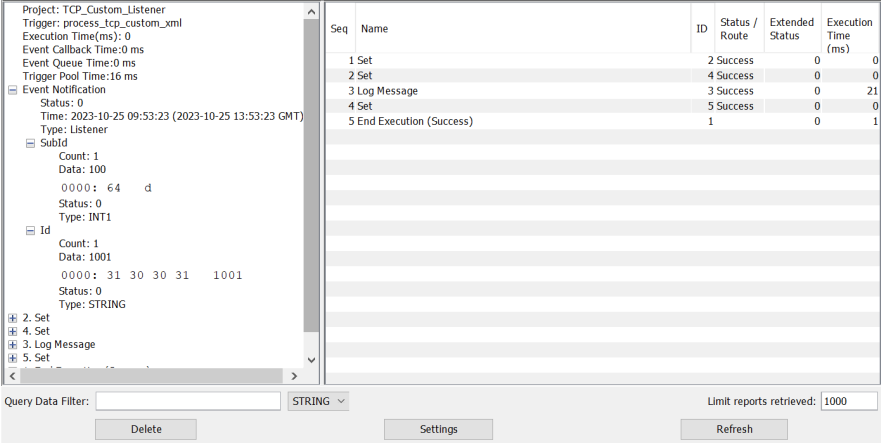
Check if the XML payload report got generated successfully, as shown below:
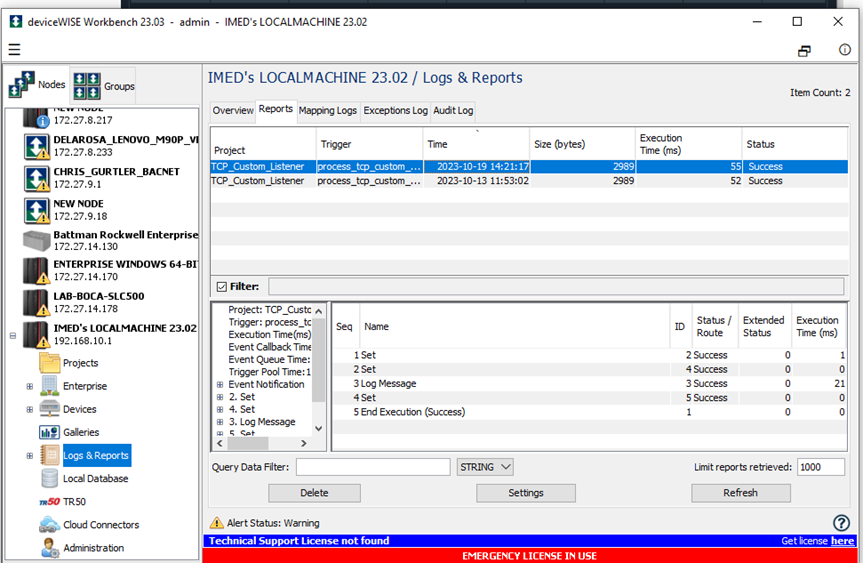
Select and double click the report
Verify the Event Notification if the request ID matches the one sent from the packet sender and the report on Workbench as shown below: