To create a transport including database and WebSphere MQ transports, do the following:
Before you begin to create any of the supported transports, the appropriate third-party software must be installed and configured.
- On the Workbench, go to your node and expandEnterprise >> Transports
- Right-click on the
Transports
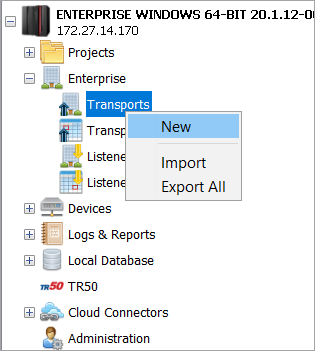
- Click New.
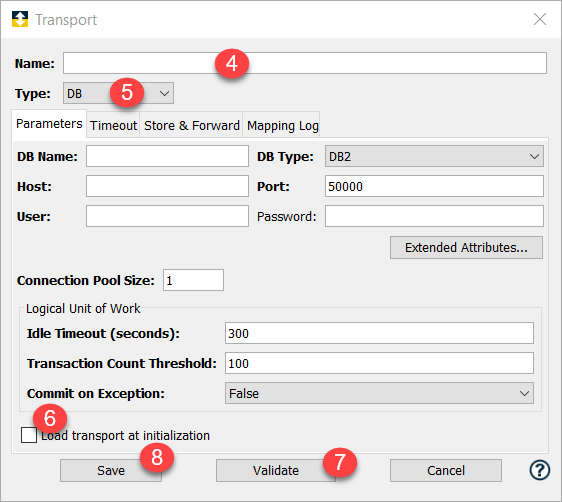
The Transport window appears with a set of tabs. The tabs that appear on the Transport window depend on the type of transport selected. This is the default window. Every Transport window has a Parameters tab. The appearance of the Parameters tab changes according to the type of transport selected. - Enter the Name of the transport. A transport name can be up to 64 characters in length and can include letters, numbers, and the underscore character. Spaces are not allowed.
- Click Type drop-down and select the type of transport you want to create.
The choices depend on the specific product on the node and what transport protocol licenses have been activated. For information on the different transports and parameters, see Transport types. - Select the Load transport at initialization that will connect the transport to the enterprise application as soon as the node starts up (or immediately after leaving store and forward). When the first transaction for the transport is ready to be processed, processing is faster because the transaction does not have to initialize the transport (the connection is already established). By default, a transport is in a Down state until it processes a transaction.
- Click Validate, to test the connection to the transport target application. For example, if you had selected DB as the transport type, the Workbench tests the connection to the database. A successful message appears if the validation is successful.
- Click Save.
The new transport is saved to the node and added to the Transports tab. The Transports tab provides information about transport processing such as whether a transport is operational or in a store and forward mode. From the Transports tab, you can also create a new transport, edit an existing transport, delete an unwanted transport, and more. For more information, click Using the Transports tab.