WebSphere MQ, JMS providers (such as WebSphere MQ), MSMQ, and TCP transports facilitate ASCII delimited messages. The content of these payloads contain data defined in map variables from the Input tab or system macros.
When you specify ASCII as the format, you must first create the map variables, and then specify the ASCII payload values. WebSphere MQ transport maps are slightly different because they have header parameters that can be changed at runtime.
Follow these steps:
- On the Transport Map window, under the To
Enterprise section, click the
Format down-arrow, and then select
ASCII
When ASCII is selected as the format, the payload is ASCII encoded.
The Field Delimiter and Array
Delimiter boxes becomes available. The
Field Delimiter box defaults to a comma
that is used to separate each ASCII string element in a
message. You can set a user-defined delimiter. Simply type
the delimiter in the Field Delimiter box.
You can also set a space.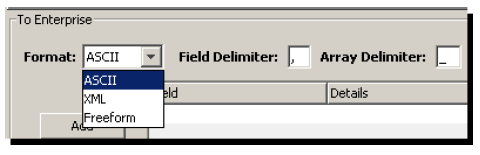
The Array Delimiter box defaults to an
underscore ( _ ) character that is used to separate an
array of numbers.
When you select ASCII, there are also
Field and Details
columns. These columns will contain the map variables from
the Input tab and macro values that you
specify. The next step is to create the map
variables.
- Go to the Input tab at the top of
the Transport Map window.
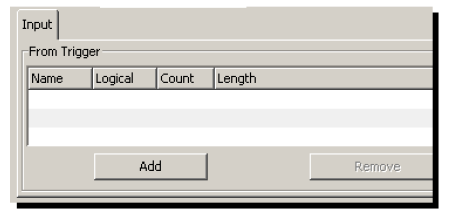
- Click Add.
The New Item window appears. - Fill in the parameters as appropriate.

For this example, a timestamp is selected because the IT department requires the date and time of a production line completion for audit purposes. - Click Add.
The information is added to the first row on the Input tab.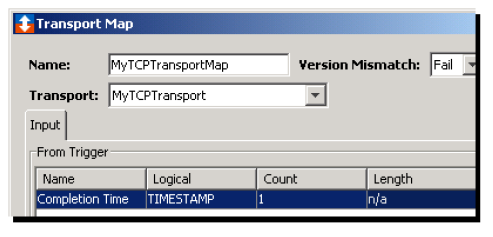
Repeat the steps to add the required map variables to the Input tab. The final Input tab might look like this.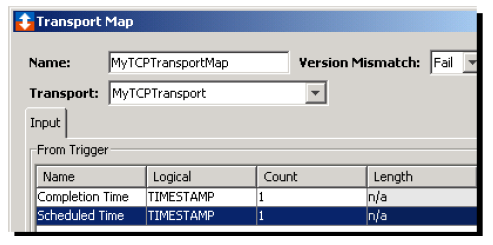
The next step is to create the payload. You must associate the map variables from the Input tab with data items and macros for the payload. - Go to the table at the bottom of the To
Enterprise section.
- Click Add.
The first row in the table becomes active. - Under Field, click the column to
display a drop-down list, and then select the
appropriate map variable (for this example,
Completion Time)
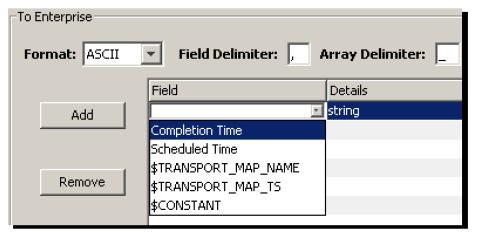
- Under Details, click the column to
display a drop-down list, and then select the
appropriate data type (for this example,
string is automatically added).
- Repeat the steps as necessary to associate all the
map variables with a data type.
The completed To Enterprise section might look like this.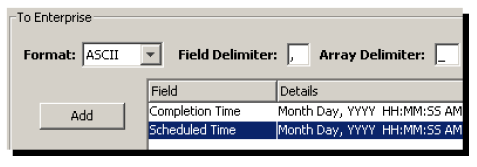
The final step is to create a trigger and associate the map variables in the trigger action definition. When the trigger executes, the message might consist of the following:
2010-05-07 12:51:33, 328 Mon May 07 12:51:33 PDT 2010, Fri Nov 28 15:46:17 PST 265907310
For this example, a comma delimits the timestamps.