The Tables tab provides functions to insert, update, delete, and view rows in a Local Database table.
Inserting a row
Rows can be inserted in a Local Database table.
- From the Tables tab, select the
table you want to insert a row to, and then select the
Insert Row.
The Insert Row window appears: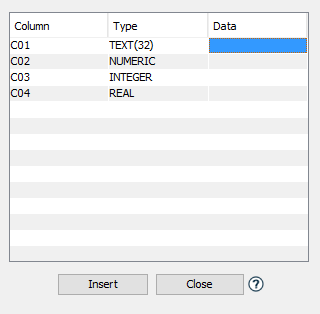
- In the Insert Row window, enter a value for each of
the table's columns by selecting within the Data
parameter for each column.
Any columns that are defined with a Default constraint and a Default Value, will be given the default value if data is not entered for the column. - When done entering the data for the row, select
Insert.
A messages is displayed indicating that the row was inserted and asks if you would like to Insert another: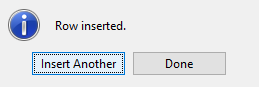
- Continue to insert rows until you are done.
The inserted rows will be displayed in the lower portion of the Tables tab when the table is selected.
Updating a row
The data in a table's row can be updated.
- From the Tables tab, select the
table which you want to update a row's data.
- In the lower portion of the Tables
tab, the rows in the table are displayed.
You may need to navigate through the rows using the navigation controls to find the one you want to update. - Double click in a row and column cell to edit the
data. After the data has been updated, press enter or
select another portion of the window.
A confirmation window is displayed asking if the data should be written to the table. - Select Yes to write the
data.
The column's constraint will be checked and, if valid, the data is updated in the table.
Deleting a row
Rows can be deleted from a Local Database table.
- From the Tables tab, select the
table from which you want to delete a row.
- In the lower portion of the Tables
tab, select the row to delete and then select
Delete Row at the bottom of the
tab.
Alternatively, you can right click on a row to display a pop-up menu and then select its Delete Row option. - To delete multiple rows, select multiple rows using
Crtl-click, Shift-click or Ctrl-A, and then select
Delete Row.
Alternatively, you can use the Delete All Rows at the bottom of the tab.
Viewing rows
When a table is selected in the Tables
tab, the lower portion of the tab displays the rows in the
table. For example: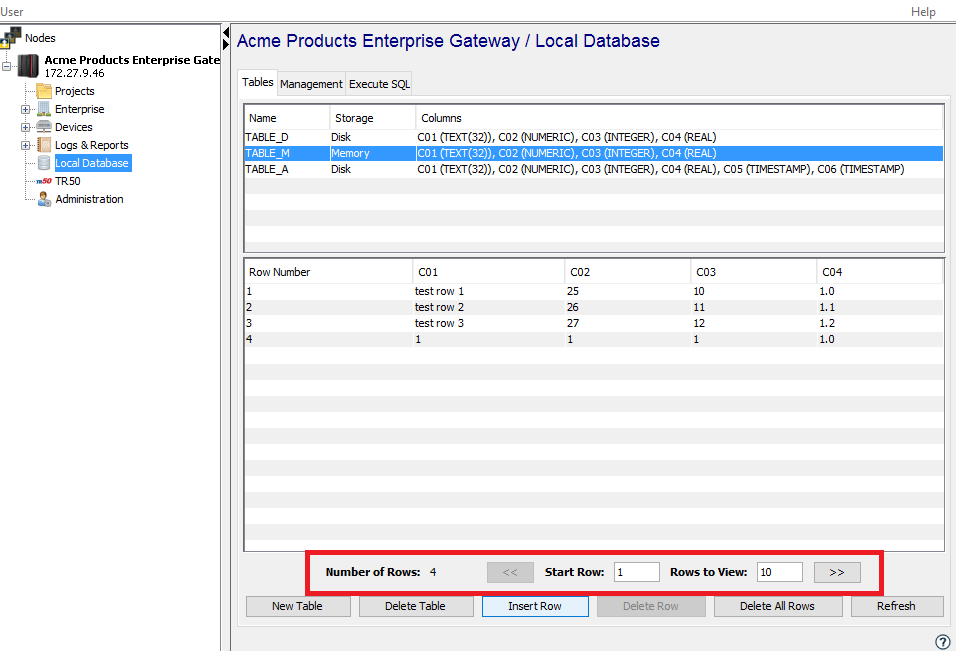
The navigation controls allow you to:
- Page forward
- Page back
- Define the starting row number
- Define the number of rows to display.
The columns as displayed in the lower portion of the tab can be reordered by dragging and dropping to a new position.