Installing the Workbench
You must first uninstall any pre-release versions of Workbench prior to 19.1.3 Release.
The Workbench allows you to develop applications and to administer your nodes (nodes is synonymous with gateways). Following is a list of the most common tasks performed using the Workbench:
- Develop, manage and monitor triggers and projects (your application logic)
- Configure and manage connections to enterprise applications
- Configure and manage connections to devices and sensors
- Configure LAN connection settings and cellular connection settings
- Configure the connection of the gateway to the deviceWISE Cloud
- View event logs and reports
- Administer the gateway.
The following are the prerequisites:
- You must have a Windows XP, Windows 7, Windows 10 or Windows Server machine where you will install the Workbench. This machine has TCP based access to the nodes you will connect the Workbench to to perform the application development and node administration activities.
- You have a Management Portal user ID and password and know how to log on. You need this to download the Workbench install files from the Management Portal. If you need a Management Portal account, see Creating the deviceWISE Cloud account.
To install the workbench, do the following:
- In the Management Portal, navigate to Developer>> Resources
The Resources page appears with a list of release folders and files. - Click on the
appropriate build (if you are not sure, pick the latest
available build).
- Click Telit.
- Click Workbench.
- Under Workbench, click on the folder icon with the name Workbench.
- Click deviceWISE_Workbench_Install.XXX.msi
(where XXX is the version of the Workbench you want to
downloaded).
Saves the Workbench install program to your computer. - On the Windows computer, go to the folder where you downloaded the deviceWISE_Workbench_Install.XXX.msi file.
- Double-click the file to execute the install
program.
The Welcome to Workbench Setup Wizard screen appears.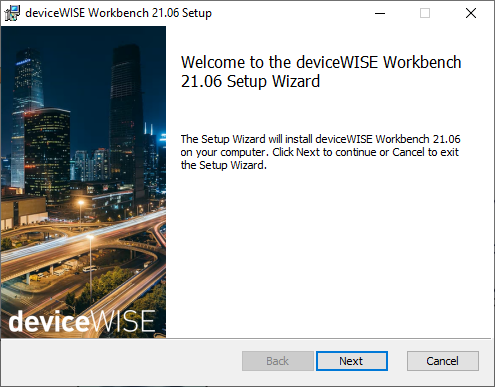
- Follow the prompts to accept the license agreement and install WorkbenchDo not change the destination folder, select Install.
- When the installer is complete, click Finish to close the installer.
After the Workbench is installed, see The Workbench in the Gateway Developer's Guide and Reference for information on using the Workbench and the features that it can access.