This reference describes the way to define the input variables using the Variable Template. When the input format is a JSON, the Variable Template tells which deviceWISE variables to use for the action. An editor is provided to help you define the JSON document and create Input variables, which will be associated with the action(For example, Send Telemetry to IoT Hub or Encode Binary Buffer).
JSON is a lightweight data format that consists of name/value pairs.
The following procedure will explain you the steps to send sensor temperature and pressure data, along with modifying the default JSON, and to assign it to the proper variables:
-
Click on the edit button to modify the JSON.
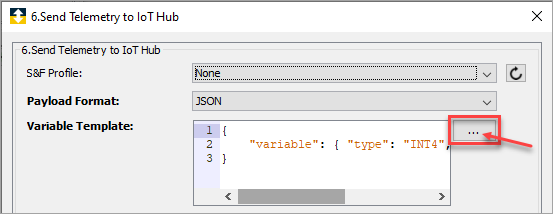
An edit screen appears. -
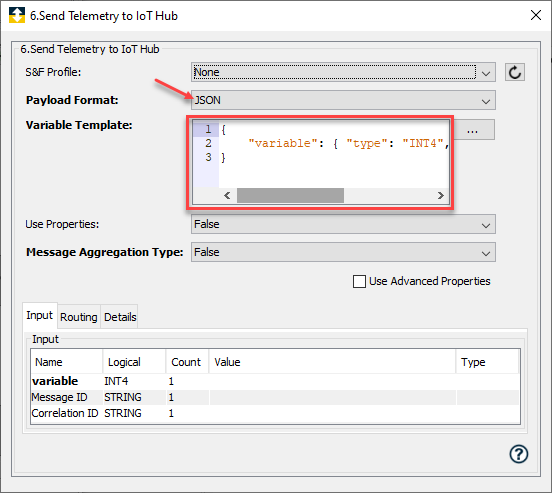
Edit the JSON to specify the variables to use in the trigger. For convenience, the Variable template provides a sample JSON specifying one variable(
“variable”) of type INT4. For example, if you want to send 10 variables, edit the JSON to send 10 variables making sure the name is unique with the correct type. The JSON editor displayed allows you to both define the JSON document that will be created by the trigger and define the Input Variables that act as placeholders for the runtime data that will be used to complete the document at execution time. When creating the JSON document in this editor you will first define the name of the element, within double quotes, followed by a description of the data value associated with the element.“element name” : {data value description}The following three fields must be defined for each data value defined in the JSON document.
“type”: This is the data type of the value that will be placed in the document. Valid entries in this field are INT1, INT2, INT4, INT8, UINT1, UINT2, UINT4, UINT8, FLOAT4, FLOAT8, STRING, and BOOL. This value must be enclosed in double quotes.“count”: This is used to define an array of values, with the count field defining the number of array elements.“length”: This value is 0 for all data types except for STRING. The maximum length of an element with a STRING data type is defined in this field.
The combination of these three items will describe the data value type that will be associated with the JSON element. Note that they are enclosed with curly brackets. A comma is added to the end of the curly bracket to add an additional JSON element.
For example:You will notice the trigger action gets updated with the two input variables (temperature, pressure), defined in the new JSON. The updated trigger action looks like the following:{ "temperature": { "type": "FLOAT4", "length": 0, "count": 1 }, "pressure": { "type": "INT2", "length": 0, "count": 1 } }
-
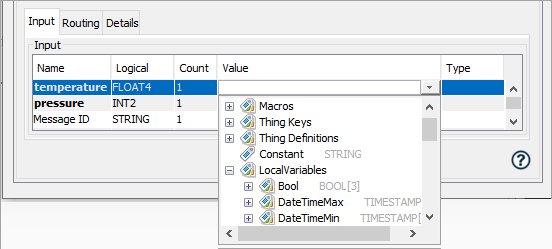
Click on the Value column, corresponding to temperature and pressure to associate it to the real variables.
After the values are assigned to the variables, close the window.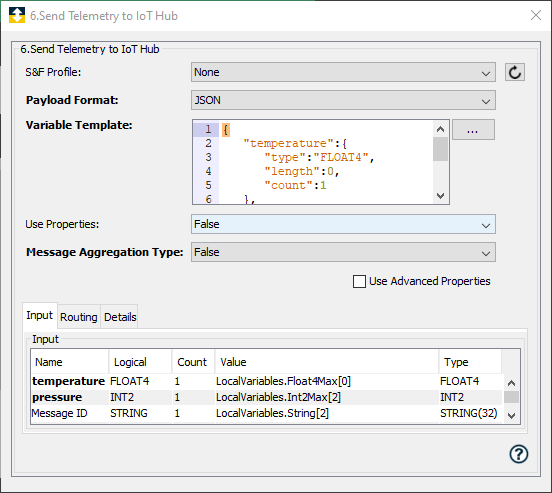
Assume that the value of the LocalVariables.Float4Max[0] variable is 714.94 and the value of the LocalVariables.Int2Max[2] is 813. The trigger will create the following JSON payload, which will be delivered to Azure.{ "temperature":714.94, "pressure":813 }