Each trigger resides in, or belongs to, a project. A project is a container item that is used to organize and control triggers. You can create as many projects as needed for a particular node and define the triggers needed within each project. The organization of triggers within a project can be based on the physical characteristics of the solution (for example: Line 1, Line 2, and so on) or based on the logical functions that the triggers provide (for example: device access, database access, utility functions, and so on).
The organization of projects and triggers does not limit the availability or access of the triggers, it is just a mechanism to organize the application logic in a manner that makes sense to the application developer.
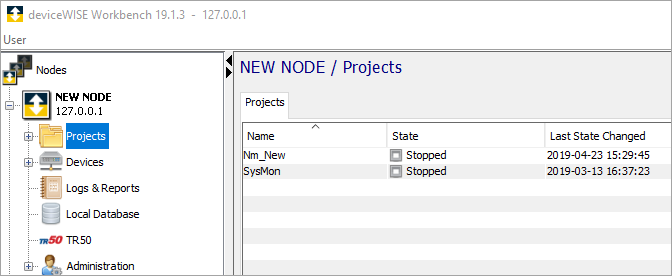
When you click the Projects icon for a node, the Projects window is displayed in the right hand pane with the list of projects that have been defined for that node:
Defining a project
- From the Workbench left pane, click and then
expand the node that you want to add a project
to.
An expanded tree view of the selected node appears. - Click Projects
The Projects window appears on the right hand pane. The list of projects will be empty if no projects have been defined. - From the bottom of the Projects tab, click New.
- Enter a name for the project, an optional
description, and then click OK. A
project name can be up to 64 characters in length and
can include letters, numbers, and the underscore
character. Spaces are allowed. The project name is added to the
Projects tab on the Workbench right
hand pane.
The Projects tab has a table format with these columns:
|
Column |
Description |
|---|---|
|
Name |
The name of the project. |
|
State |
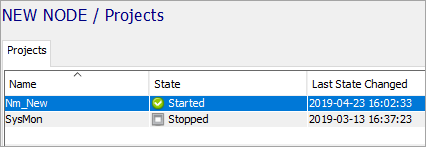
Projects have a state that is separate from the state of its triggers. The state of a project are:
|
|
Last State Changed |
Displays the date and time the project was last started or stopped. |
|
Created |
Displays the date and time the project was originally defined. |
Project Overview
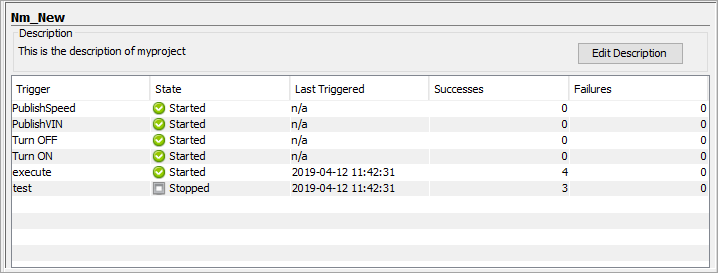
Below the project list table is a panel showing an overview of the project. This includes an editable description as well as a list of the triggers in the project and a brief summary of their status.
Managing projects
When the Projects window is displayed as the right hand pane, a Projects tab is always displayed as the first tab in the window. The projects tab displays all of the defined projects, along with their state, the date and time last modified and the date and time the project is defined.
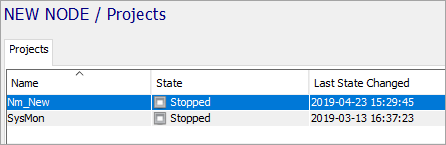
If you right-click on a project in the list, a short cut menu with available options is displayed, some of which are specific to the selected project:
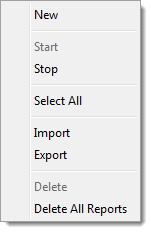
The options from the short-cut menu includes:
|
Option |
Description |
|---|---|
|
New |
Defines a new project. Alternatively, the New button at the bottom of the Projects window can be used. |
|
Start |
Starts the selected project.
Alternatively, the
Start button at the
bottom of the projects window can be
used. |
|
Stop |
Stops the selected project.
Alternatively, the
Stop button at the
bottom of the projects window can be
used. |
|
Select All |
Selects all projects |
|
Import |
Displays the Import window, allowing the selection of a previously exported export file. |
|
Export |
Displays the export window, allowing the selection of the items in the project (triggers) and any of the triggers' dependencies to be exported. |
|
Delete |
Deletes the selected project and all
of the project's triggers.
Alternatively, the
Delete button at the
bottom of the projects window can be
used. |
|
Delete All Reports |
Deletes all trigger reports generated by triggers in the selected project. |