Creating a LoRa Provider
To create a LoRa provider, do the following:
-
Click
the
 (cog menu)
>> Administration on the top
right corner of the
Management Portal
(cog menu)
>> Administration on the top
right corner of the
Management Portal
The Administration page appears -
From the Administration page in the LORAgroup, click on
the Providers
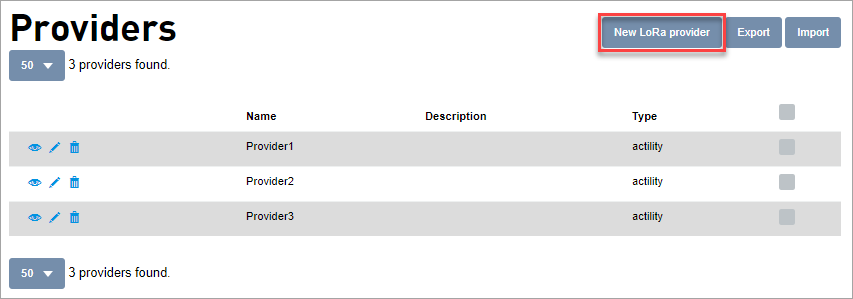
The Providers screen appears - Click on the New
LoRa providerbutton.
The Adding LoRa provider screen appears. -
Enter or select the following details:
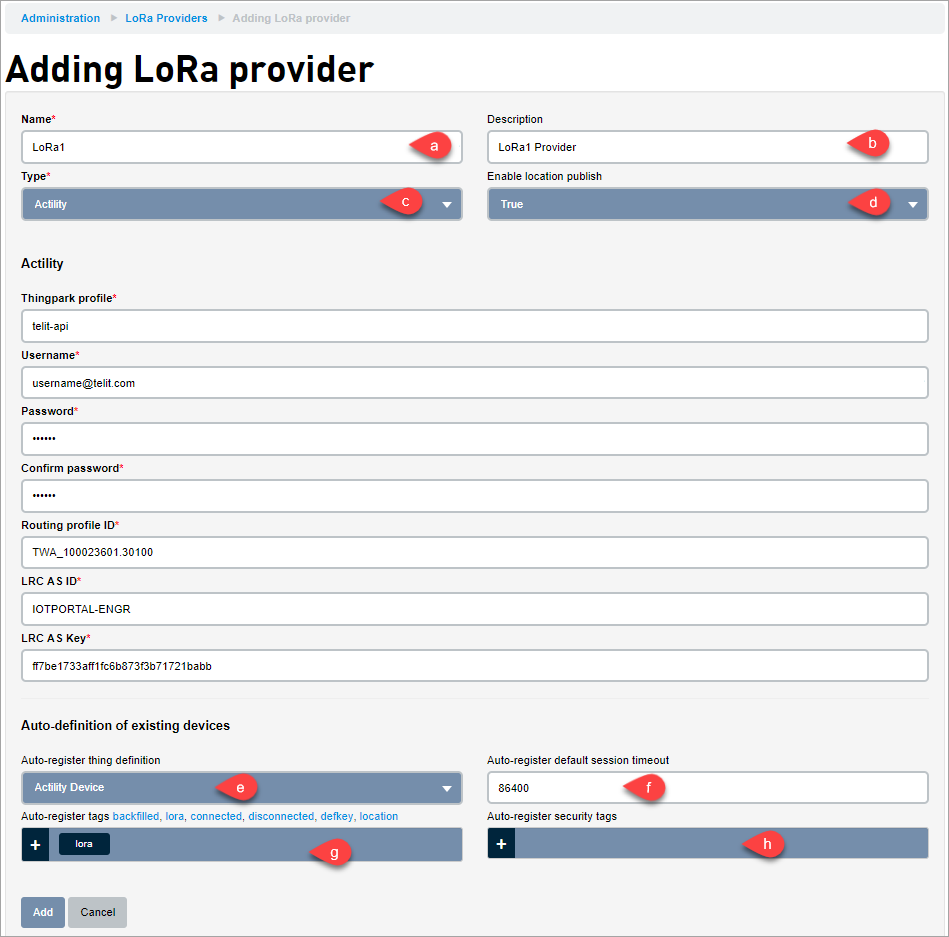
- Enter a Name for the Provider.
- The Description should be used to store additional information about how the notification group is to be used.
- Click the Type drop-down and select a Provider type. Depending on the provider selected the fields below gets adjusted and shows the fields required for the selected provider.
When Actility is selected, you need to enter the following fields:
- Thingpark profile: Enter the Thingpark profile name.
- Username: Enter the Username
- Password/Confirm Password: Enter the password and confirm it
- Routing Profile ID: Enter the Routing profile ID. The Routing profile defines how the sensor data is routed to a back-end application.
- LRC AS ID: Long-Range Controller Application server ID
- LRC AS Key: Long-Range Controller Application server key
- Set Enable location publish to True or False. When the Enable location publish is set to True, it allows the location data which comes in through a device uplink to be published (through the location.publish).
- If set to True, you will see location history data from your devices that are coming from the LoRa provider.
- If set to False, you will not see location history data from your devices that are coming from the LoRa provider.
It is only to restrict location data from the Lora provider. It is possible for you to set it toFalse and then someone or an application executes location.publish for that given device. - Select a Thing definition from the Auto-register thing definition drop-down. The Thing definition selected will be used when a Thing is created using this Provider.
- Enter a Auto-register default session timeout to be used when a device is created using the Provider.
- Enter the Auto-register tags to be used when a device is created using the Provider
- Enter the Auto-register security tags to be used when a device is created using the Provider.
- Click Add