Getting Started with Visual Inspection
The installation process for deviceWISE Visual Inspection (VI) is streamlined through an automated script.
Download the Visual Inspection installation script by clicking the button bellow. 
Prerequisites for the installation of deviceWISE Visual Inspection
Before starting, ensure that your system meets the necessary System Requirements, including the installation NVIDIA drivers and hardware recommendations.
Internet access is required.
Step-by-Step Installation Instructions
The first step is to Download the Installation Script on the machine and run the installation. To run the installation, you should:
-
Open a terminal window.
-
Extract the script on a directory of your choice. For example "telit_vi".
tar xvf installer.tar
-
Execute the script by running the following line:
sudo ./installer.shAs a result, the following screen should be seen:
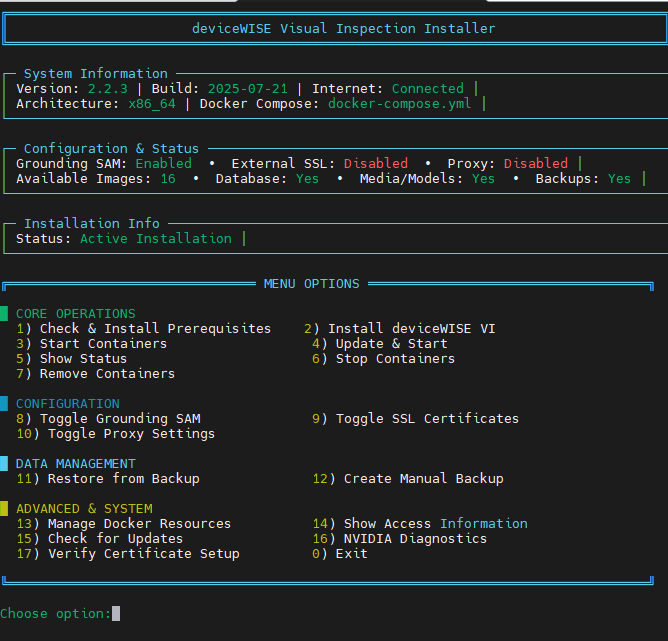 OptionWhat does it do?
1) Check & Install Prerequisites -
Checks and installs Docker and Docker Compose Detects system architecture (x86_64 or ARM64/Jetson).
-
Installs NVIDIA Container Toolkit for GPU support.
-
Configures Docker daemon for NVIDIA runtime.
-
Applies Jetson-specific optimizations if detected.
2) Install deviceWISE VI -
Verifies no running instances to prevent conflicts.
-
Checks for previous installations and existing Docker resources.
-
Prompts for Grounding SAM configuration (AI auto-annotation).
-
Configures SSL certificates (external or container-included).
-
Allows selection of deviceWISE VI version tag.
-
Creates directory structure and generates docker-compose.yml.
-
Sets up nginx configuration and log rotation.
3) Start Containers -
Starts all deviceWISE VI services using docker-compose.
-
Waits for services to initialize.
-
Displays access URLs and service endpoints.
-
Shows HTTPS/HTTP URLs and API endpoints.
4) Update & Start -
Stops existing containers.
-
Pulls latest Docker images for all services.
-
Restarts containers with updated images.
-
Displays access information after successful update
5) Show Status -
Checks which containers are currently running.
-
Displays service status (Running/Stopped).
-
Shows access URLs and connection information.
-
Lists all available service endpoints.
6) Stop Containers -
Stops all running deviceWISE VI containers
-
Preserves data and configuration
-
Containers can be restarted later
7) Remove Containers -
Stops and removes Docker containers
-
Preserves all data (database, models, media files)
-
Warns user that data is safe in dwvi-api/ directory
-
Requires confirmation before proceeding
Configuration 8) Toggle Grounding SAM -
Enables/disables Grounding SAM service for AI-powered auto annotation
-
Regenerates docker-compose.yml with new configuration
-
Grounding SAM provides intelligent object segmentation from text prompts
9) Toggle SSL Certificates -
Switches between external SSL certificates and container-included certificates
-
Can generate self-signed certificates if none provided
-
Regenerates docker-compose configuration
10) Toggle Proxy Settings -
Configures corporate proxy settings for internet access
-
Sets up proxy for APT, Docker, and environment variables
-
Tests proxy connectivity
-
Can disable, reconfigure, or maintain existing proxy settings
Data Management 11) Restore from Backup -
Lists available backups (database and media)
-
Allows selective restoration of database or media files
-
Stops containers before restoration to prevent conflicts
-
Warns about data overwrite and requires confirmation
12) Create Manual Backup -
Creates timestamped backups of critical data
-
Options: database only, media/models only, or everything
-
Stores backups in local backups/ directory
-
Preserves data for disaster recovery
Advanced & System 14) Show Access Information -
Shows HTTPS/HTTP URLs, API endpoints, Redis connection
-
Lists Grounding SAM URL if enabled
15) Check for Updates -
Checks for newer installer versions from update server
-
Can auto-update installer with checksum verification
-
Downloads and replaces current installer if update available
-
Restarts with new version automatically
16) NVIDIA Diagnostics -
NVIDIA Container Toolkit diagnostics
-
Tests NVIDIA drivers, Docker configuration, and GPU access
-
Checks repository configuration and runtime detection
-
Provides troubleshooting information
-
Includes manual GPU access testing options
17) Verify Certificate Setup -
Validates SSL certificate configuration
-
Checks if certificate files exist and are accessible
-
Tests certificate and private key compatibility
-
Shows certificate details (subject, issuer, expiration)
-
Displays the SSL configuration that will be used
0) Exit -
Safely exits the installer
-
Services continue running in the background
-
-
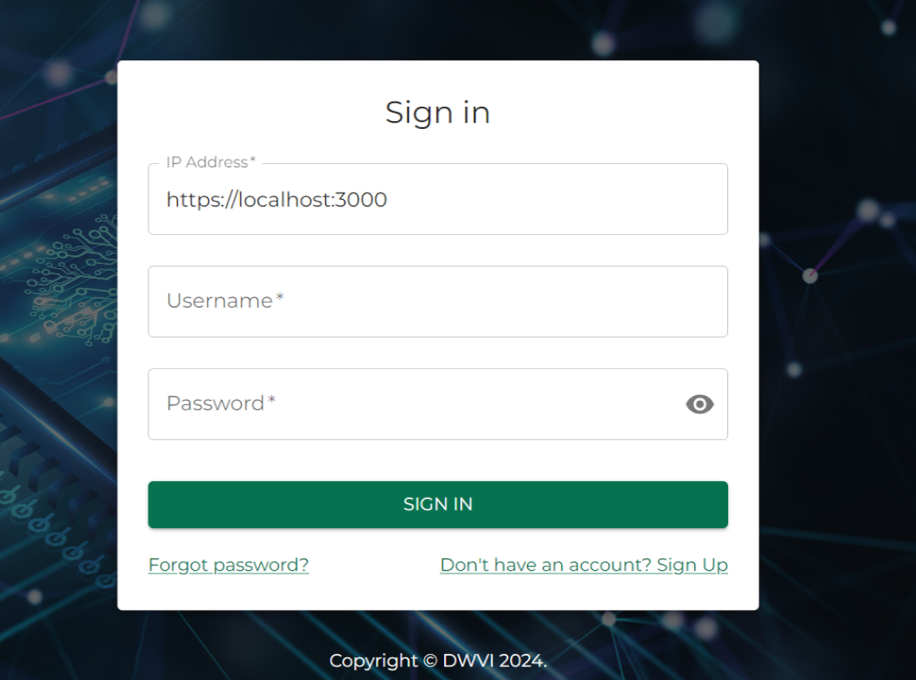
After installing deviceWISE VI, you should be able to access the Studio from the web browser by going to the Local Host (https://localhost:3000), or the external IP of the machine you are deploying the deviceWISE Visual Inspection on.
Make sure to use HTTPS, as HTTP will not work.
After starting deviceWISE Visual Inspection, the user will be prompted to log-in or register to the system. For both the Sign-in and Sign-Up screens, the user will need to specify the IP Address of the VI instance to be pointed at.
It is possible to point to an instance running on a different machine assuming the user is able to reach the Port 3000 on that instance.
After logging in, the following home screen will be seen:

Providing quick access to various funcionalities, through the Home page, the following sections are available:
-
Home: Offers a comprehensive overview of the product and quick navigation options.
-
Projects: Through the Projects tab it is possible to create new projects, upload images and access the annotation tool for image labeling and preparation.
-
Training: One of the main pages, the Train Dashboard lets the user initiate and monitor training sequences for created projects, utilizing the data prepared in the Projects section.
-
ROIs:
-
Models: Through this section, upload or delete a trained or pre-uploaded model. It is also possible to perform inference tests to evaluate model performance.
-
Pretrained: The Pretrained section gives access to the available pretrained models offered by deviceWISE Visual Inspection. Models would be:
-
YOLOv8 Large, helpful on various object detection tasks.
-
YOLOv8 Segmentation, instance model that not only detects but also provides pixel-level object boundaries.
-
YOLOv11 Segmentation, latest generation YOLO segmentation model with improved accuracy and speed.
-
Wheels, specialized model for wheel inspection and quality control.
-
OCR, for recognizing and extracting text from images.
-
Data Matrix, specialized decoder for Data Matrix codes using pylibdmtx.
-
At the top right corner of the screen it is possible to access user related menus. Those would be:
- User Settings: Configure the user account. Options are: Managing Licenses; Updating User Details; Generating or renewing API Keys; Viewing System Information; Accessing the "About" section for product information.
-
Logout: Securely logs the user out of the system and redirects to the sign-in page for re-entry.
To have full access to deviceWISE Visual Inspection functionalities you'll need to license your account. Follow the steps bellow to better understand how to get both Studio and Edge licenses.
There are two licenses available: Studio License, which allows for creating, managing and training models through deviceWISE Visual Inspection platform; and Edge License, which allows for deviceWISE to use the Visual Inspection node to run inferences of given models.
-
Once logged in, click on the icon at the screen's top right to access User Setings.
-
The page will load already at the License tab, where it is possible to see the button for License request, followed by the status of the Edge and Studio licenses.
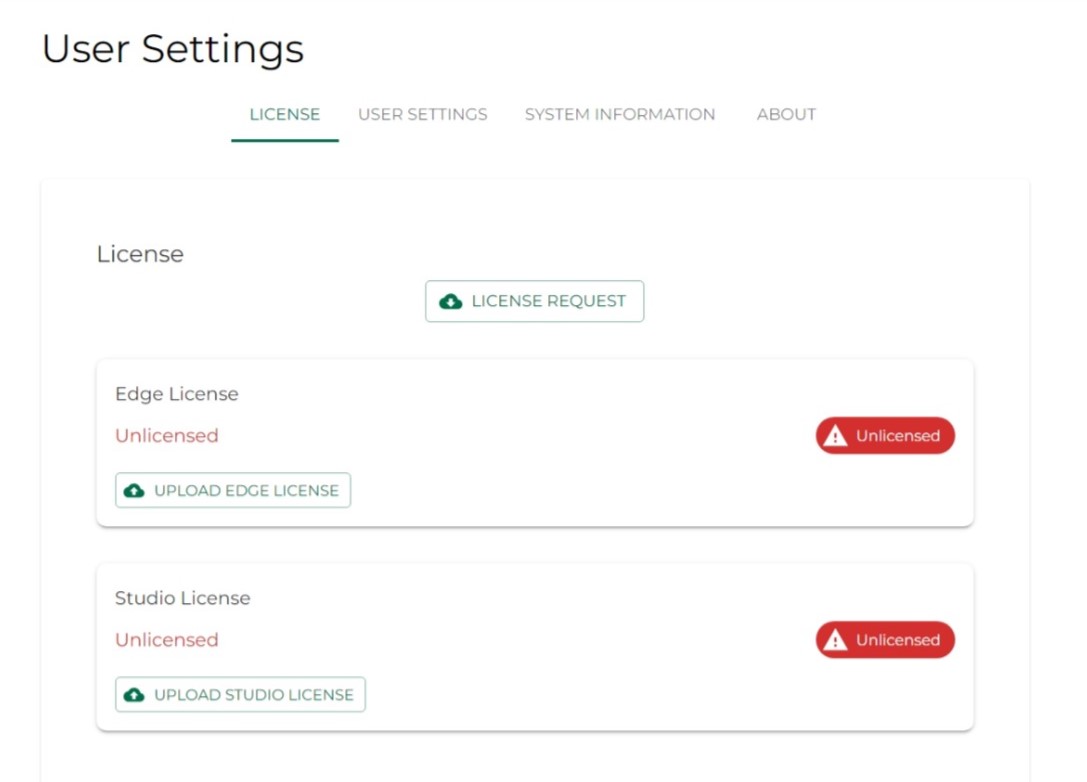
- If you don't have the licenses yet, request through direct contact with Telit's Customer Service. For that, a code will be needed, provided by clicking at the License Request button that will generate a unique string tied to the account.
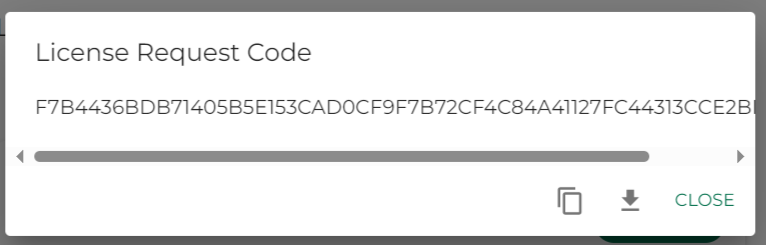
The license request code is actually the hardware ID.
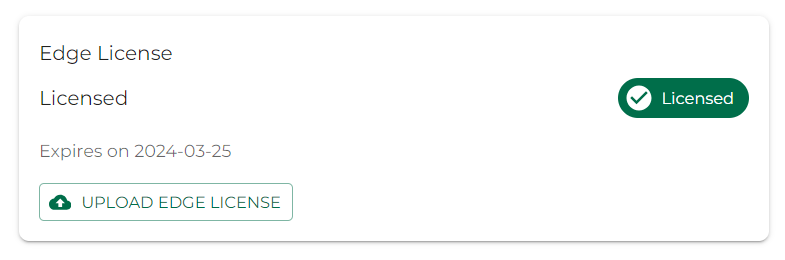
- Once you receive the text files that contain the license code for the account, click on Upload Edge License or Studio License. Select the file and a note should appear at the bottom left of the page.

- After uploading the license, the card will change, demonstrating that it is now licensed and showing the expiration date.
Creating a new project in deviceWISE Visual Inspection is a simple process. This section guides you through the steps to create a new project, configure its settings, and manage project effectively.
The Projects Menu, found at the top corner of the browser, once logged in, provides an overview of Projects that were created, and also access to a button to Create New Project.

Creating a New Project
-
Through the Projects page, select the option Create Project;
-
Insert the name of the project, providing a unique and descriptive name for it, as it will be used to identify and manage the project in future operations;
-
Confirm the creation of the project by clicking Create. The system will then allocate the necessary resources and set up a dedicated workspace for the project. A card, representing the new project, will appear at the page;

With the New Project accessible through the Project page, click it to start adding images and annotations to the project. 
The options of interaction with it are:
-
Image Upload: Select images from local storage or directly from a camera input. The supported formats are JPG, JPEG and PNG. There is no specific image quality that is required, but good results are perceptible with better camera resolution;

640x480 is the minimal image size for optimal results.
-
Project Import/Export: Projects, their images and annotation data can be exported as a ZIP file. This feature is useful for backup or for transferring projects between different instances of deviceWISE VI. It is also possible to import project ZIP Files into the system.
-
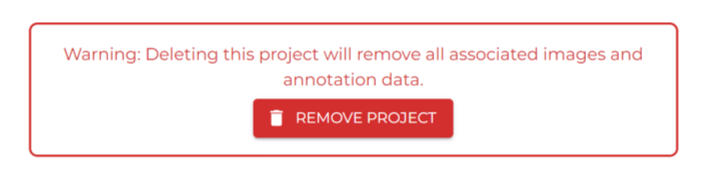
Delete project: At the bottom of the projects page it is possible to remove the entire project by clicking on 'Remove Project' button.