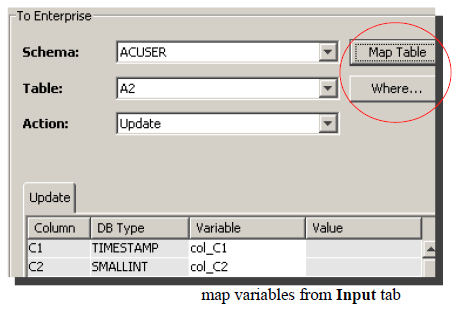
The Update option allows you to change the value of a specific column whenever a triggered event occurs. You select the schema and table that is used as the target for this operation. The Input tab will consist of a collection of map variables whose values might be mapped to columns used in a Where clause. Other items in the Input tab can be mapped to update the columns of the record that is selected as a result of the Where clause.
The following assumes that you have specified the database transport and selected a schema and table.
- Click the Action down arrow, and
then select Update.
The Where button becomes available.
The Update tab is populated with the column information for the selected table. This is the table that will be used for the target of this update operation. - The next step is to create the map variables. You
can automatically create the map variables using the
MapTable button. You
can also create each map variable individually.
For more information, see Creating map variables automatically and Creating each map variable separately. - Click the Where button.
The Where window appears.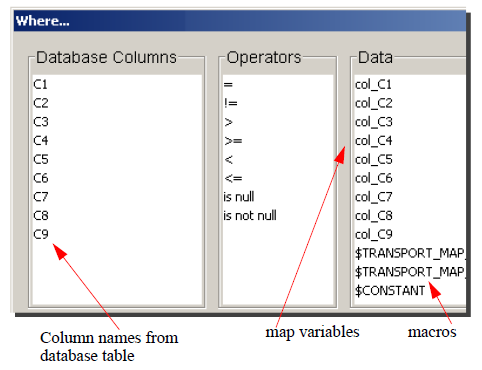
Names in the Database Columns in the Where window will match the first column of the table (in the To Enterprise section). The column actually contains column names from the selected database table. The Data column lists the map variables from the Input tab.
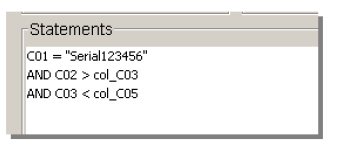
The Where window gives you the ability to construct a Where clause. You can select any column name, and then use a mathematical operator (=, !=, > , >=, <, <= ) to relate the operator to either a map variable or constant value. Each of these operators can be combined with other operators using an AND or OR statement.Note if both an AND statement and an OR statement are used in a Where clause, the AND statement is evaluated first.
- To specify a value, select the database column, the
mathematical operator, either a map variable or a
macro, and then click Add.
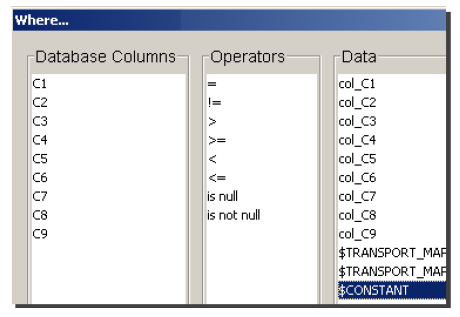
For this example, $CONSTANT macro is selected.
The Constant window appears.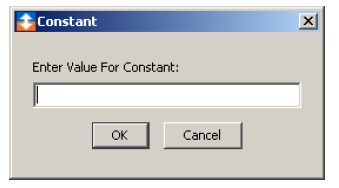
- Type the string you want to have the column use at
runtime, and then click OK.
- A message will ask you to confirm the use of the
Where clause for the column. Click
Continue.
The string that you added will appear in the bottom portion of the Where window under Statements.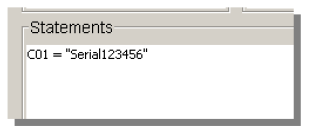
- Continue to associate additional columns with map
variables as appropriate.
- When the Where clause is complete, click
OK.
You are returned to the main Transport Map window. - Click Validate.
A window appears and displays the output of the transport map. If no error is received, click OK. - Click Save.