This page describes how to download and install the deviceWISE Asset Gateway for Option CloudGate product on an Option CloudGate gateway.
The Option CloudGate models supported are:
- CG0192 - US/Canada version
- CG0112 - EMEA version.
Prerequisites
The following is assumed:
- You have the Option CloudGate gateway
- You have an Ethernet cable
- You have a computer, such as a laptop, that can have its IP address changed to allow a direct Ethernet cable connection to the Option CloudGate at its factory default IP address
- You have a Management Portal user ID and password
and know how to log on. You need this to download the
Asset Gateway installation files from the Management
Portal.
If you need a Management Portal account, see Creating the deviceWISE Cloud account.
If you received the installation files from your Telit representative or if you use the Option provisioning server, you can skip the Obtaining the Asset Gateway for Option CloudGate steps.
Review the information regarding the Option Cloudgate firmware level and then proceed with the configuration and provisioning steps.
Option CloudGate firmware level
The Option CloudGate gateway will be configured with a specific version of the Option firmware: the 1.X.X or the 2.X.X version. The level of the Option firmware is displayed on the home screen of the Option CloudGate web interface.
- The deviceWISE Asset Gateway for Option CloudGate product is developed with a software development kit (SDK) from Option. The SDK version corresponds to either the 1.X.X or 2.X.X version of the Option firmware.
- Starting with release 15.2.0, two versions of the
deviceWISE Asset Gateway product are available:
- For installing on an Option CloudGate gateway with Option firmware 1.X.X
- For installing on an Option CloudGate
gateway with Option firmware 2.X.X.
Option Cloudgate firmware level
It is very important that the version of the deviceWISE Asset Gateway for Option CloudGate product installed onto the gateway corresponds to the Option firmware that is installed on the gateway.
Otherwise, the product will not initialize and function correctly.
Obtaining the Asset Gateway for Option CloudGate install file
Follow these steps to download the Asset Gateway for the Option CloudGate install file:
- Log on to the Management Portal, and then select
Developer.
The Developer menu appears. - From the Developer menu, select
Resources.
- From under Index of files, select
the appropriate build (if you are not sure, pick the
latest available build).
- Select Option.
- If the Option CloudGate has version
1.X.X of the Option firmware:
- Select CloudGate_V1
- Select Asset_Gateway.
- Select
DWGateway_Install.Linux-ARM-Option.XXX.zip
(where XXX is the version of the Asset Gateway
software you want to download)
and download the file to a temporary location on your computer.
- If the Option CloudGate has version
2.X.X of the Option firmware:
- Select CloudGate_V2
- Select Asset_Gateway.
- Select
DWGateway_Install.Linux-ARM-Option-V2.XXX.zip
(where XXX is the version of the Asset Gateway
software you want to download)
and download the file to a temporary location on your computer.
Inserting a cellular SIM card
If the Option CloudGate will be configured for cellular
connection, follow the instructions provided with the
hardware to install your SIM card.
The SIM card gets installed behind the panel that has the
power connector and the Reset button. The
SIM card metal connectors are positioned down, with the
notch to the upper left as it is inserted into the Option
CloudGate.
Configuring the Option CloudGate using the Option web interface
- After the file has been downloaded to your
computer, to allow a direct Ethernet connection from
the computer to the Option CloudGate, temporarily
change the computer's:
- IP address for the Ethernet adapter to 192.168.1.2
- Network mask for the Ethernet adapter to
255.255.255.0.
- Connect your computer's Ethernet port to the Option
CloudGate using the Ethernet cable.
- From your computer, you should be able to ping the
Option CloudGate at IP address 192.168.1.1.
- Use a web browser to access the Option CloudGate at
its default IP address by entering 192.168.1.1 into the
address field of your web browser.
The Option CloudGate login screen appears: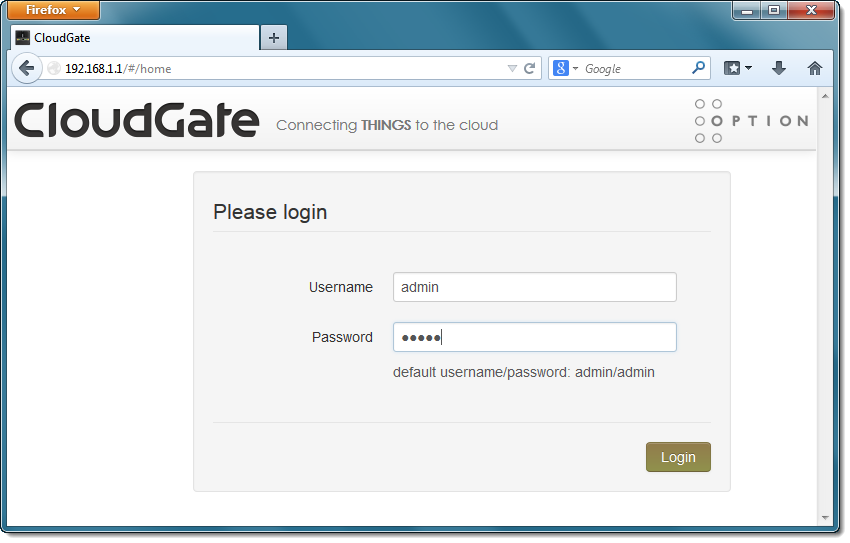
Login using the default Username admin and the default Password admin. - The Option CloudGate Home screen appears, allowing
you to perform several CloudGate configuration
tasks:
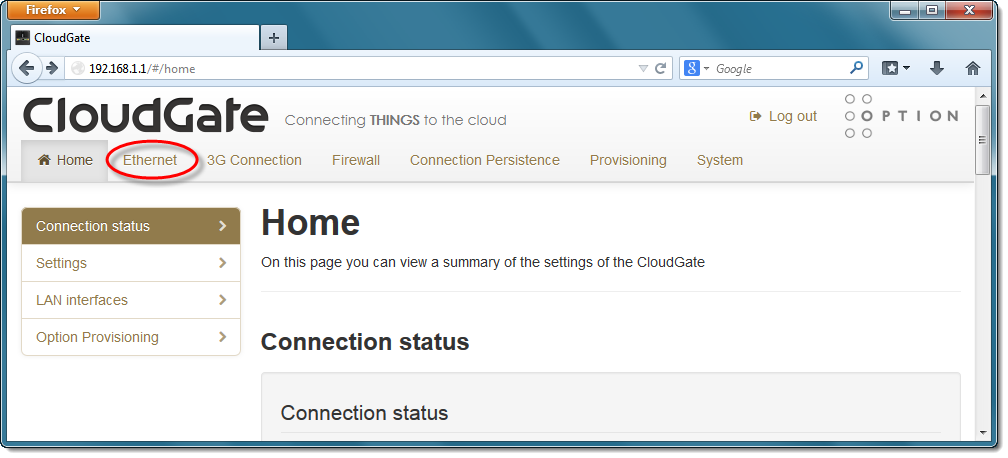
The configuration tasks include:- Ethernet configuration
- Cellular configuration (3G Connection)
- System to set the time zone
- Provisioning to load the deviceWISE Asset
Gateway software. Alternatively, your
organization may direct you to use the Option
provisioning server to load the deviceWISE
Asset Gateway software.
Each one of these tasks are described in the following steps. Other configuration tasks may apply to your specific environment and configuration.
- Select Ethernet.
The Ethernet configuration screen appears:- Select the General
settings options as follows:
Enabled = Yes, Mode = LAN, WAN/LAN Switchover = Yes - Enter the IP Config
settings:
IP address = the IP address assigned for this CloudGate on the LAN
Netmask = The network mask to use in combination with the IP address
Enable DHCP server = No. This setting is dependent on your environment and whether the Option CloudGate will be functioning as a DHCP Server. - Select Save changes to
have the settings applied.
- Select the General
settings options as follows:
- Because you changed the IP address from the default
of 192.168.1.1 to another value, your web browser
screen will not complete its refresh of the
changes.
Close that web browser window, open a new web browser window and enter the IP address that you configured for the Option CloudGate.
Login using the default Username admin and the default Password admin. - Select 3G Connection.
The 3C Connection (cellular) configuration screen appears:- Select the General settings option Enabled = Yes
- Select the Image configuration option that matches your cellular operator
- Select Save changes to have the settings applied
- After the changes are applied, in the Network settings options, enter or select the appropriate options, such as APN
- Select Save changes to have the settings applied
- After the changes are applied, the Option
CloudGate should be connected to your cellular
operator.
- Select System.
The System configuration screen appears:- Select the Timezone for the Option CloudGate
- Review the other settings options that may apply for your environment
- Select Save changes to
have the settings applied.
- If your organization has decided to use the Option
web interface to load the deviceWISE Asset Gateway
software, proceed with this step.
Alternatively, your organization may direct you to use the Option provisioning server to load the deviceWISE Asset Gateway software.
Select Provisioning
The Provisioning configuration screen appears:- In the Upload Option provisioning file section, select the Browse... button to open a File Upload window and navigate to the location of the deviceWISE Asset Gateway installation file on your computer. Select the installation file, then select Open.
- Select Upload to install the installation file onto the Option CloudGate.
- A Restart Device option
will be displayed. Select
Restart to have the gateway
restart. The deviceWISE Asset Gateway software
will be started after the gateway has
restarted.
- If your organization has decided to use the Option
provisioning server, http://cloudgate.option.com/,
to load the deviceWISE Asset Gateway software and
perform other gateway configuration tasks, the details
of these tasks will come from your organization and
depends on how they have decided to administer and
support your gateways.
The Option provisioning server administration and configuration tasks may include:- Uploading the deviceWISE Asset Gateway software to the provisioning server
- Defining the Option CloudGate devices
- Defining the Option CloudGate firmware, deviceWISE Asset Gateway software and other configuration information that should be provisioned to the Option CloudGate devices.
Next steps
If you are following the steps in the Getting Started with Gateways guide, you can continue with the tasks described in Installing the Workbench to connect the Asset Gateway to the deviceWISE Cloud.
If you are not following the steps in the Getting Started with Gateways guide and need to install the Workbench, you can continue with the tasks described in Installing the Workbench software.
If the Workbench is already installed, see The Workbench in the Gateway Developer's Guide and Reference for information on using the Workbench and the deviceWISE features that it can access.
Install any device driver or extension files that need to be applied to a node using the Packages tab. It is important to have the supported level of the device driver or extension files that match the base run time release level. If there are any questions or concerns, contact your support representative. See Packages for more information on adding device driver and extension files.