This page describes how to download and install the deviceWISE Asset Gateway for Systech SL-500 product on a Systech SL-500 system.
Prerequisites
The following is assumed:
- You have the Systech SL-500 system
- You have an Ethernet cable
- You have a computer, such as a laptop, that can be used to log on to the Management Portal and can have its IP address changed to allow a direct Ethernet cable connection to the Systech SL-500 at its default assigned IP address
- You have a Management Portal user ID and password
and know how to log on. You need this to download the
Asset Gateway installation files from the Management
Portal.
If you need a Management Portal account, see Creating the deviceWISE Cloud account.
If you received the installation files from your support representative, you can skip the Obtaining the Asset Gateway for Systech SL-500 install files step and proceed with the configuration step.
Obtaining the Asset Gateway for Systech SL-500 install files
Follow these steps to download the Asset Gateway for Systech SL-500 install files:
- Log on to the Management Portal, and select
Developer.
The Developer menu appears. - From the Developer menu, select
Resources.
- From under Index of files, select
the appropriate build (if you are not sure, pick the
latest available build).
- Select Systech.
- Select SL500.
- Select Asset_Gateway.
- Select DWGateway_Install.Linux-ARM-Systech-SL500.XXX.tar.gz (where XXX is the version of the Asset Gateway software you want to download) and download the file to a temporary location on the computer.
Inserting a cellular SIM card
If the Systech SL-500 will be configured for a cellular
connection, follow the instructions provided with the
hardware to install your SIM card.
The SIM card metal connectors are positioned down, with the
notch to the upper left as it is inserted into the Systech
SL-500.
Configuring the Systech SL-500 using the Systech SL-500 web interface
- After the file has been downloaded, to allow a
direct Ethernet connection from the computer to the
Systech SL-500, temporarily change the computer's:
- IP address for the Ethernet adapter to 192.168.1.2
- Network mask for the Ethernet adapter to
255.255.255.0.
- Connect the computer's Ethernet port to the Systech
SL-500 Port labeled LAN or
ETHERNET 2 using the Ethernet
cable.
- From your computer, you should be able to ping the
Systech SL-500 at IP address 192.168.1.1.
- Use a web browser to access the Systech SL-500 at
its default IP address by entering https://192.168.1.1
into the address field of your web browser.
The Systech SL-500 login screen appears, similar to the following:
- The Systech SL-500 Web Interface is used to perform
several Systech SL-500 configuration tasks, including:
- IP address, network mask,default gateway and DNS settings
- Time synchronization and time zone settings
- DHCP server settings
- Enabling secure shell (SSH) access
- Firewall settings for the TCP and UDP ports used by the deviceWISE Workbench.
- Cellular settings
Each one of these tasks are described in the following steps. Other configuration tasks may apply to your specific environment and configuration.
- When prompted, enter the credentials for the web
interface:
User Name = admin
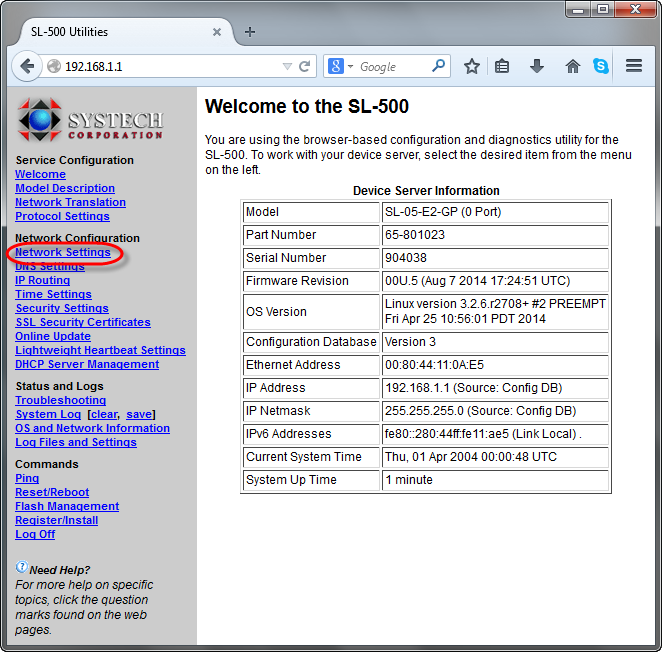
Password = sysl1nk - Select the Network Settings menu
option:
- Enter the values in the LAN
Interface section for:
- IPv4 Aaddress = the IP address assigned for this Systech SL-500 on the LAN
- IPv4 Netmask = The network mask to use in combination with the IP address
- Default Gateway= The
default network gateway to use for the IP
address.
- Select Save IP
Address/Netmask.The changes will not take effect until the system is rebooted at a later step.
- Select the DNS Settings menu
option and enter the values in the DNS
SERVERS section for your LAN
environment.
- Select Save DNS Settings.
- Select the Time Settings menu
option and enter any desired values in the
Network Time Protocol (NTP) Settings)
section for your environment.
- Select Save NTP Settings.
- Select the DHCP Sever Management
menu option and enter the desired values.
The Server configuration option of Enabled or Disabled is dependent on your environment and whether the Systech SL-500 will be functioning as a DHCP Server. Note that there are two DHCP Server links and configuration settings for DHCP Server 1 and DHCP Server 2. - Select Save DHCPD Settings.
- If the Systech SL-500 has cellular capability,
complete the configuration for your environment.
Example configuration steps may include:
- Select Cellular Settings and enter the Access Point Name (APN).
- Select PPP Settings and
then PPP-0 and configure (for
example):
- Select Outgoing PPP
- Set Port to use for PPP connection to Cellular
- Enter Phone number to dial (for example *99#)
- Select Create Default Route
- Select Use Peer DNS Servers
- Select Save Changes.
- You may need to configure the IP
Routing settings to specify a default
gateway to forward packets to another network
(for example forwarding packets over the
cellular connection to the deviceWISE Cloud).
- Select the Security Settings menu
option and select (check) the Secure Shell service
(SSH). This is required to execute the deviceWISE Asset
Gateway installation script. For some versions of the
web interface, this configuration option may be listed
under the Firewall Settings
option.
- For some versions of the web interface, a
Firewall Settings option may be
available.
Select Firewall Settings.
Add entries for port 4012 protocol TCP and port 4009 protocol UDP. These are used by the deviceWISE Workbench to communicate with the gateway. - Select Save Changes.
- Review the other menu options for settings that
apply to your environment.
- Select the Reset/Reboot menu
option and then select Reboot.
- If you changed the IP address from the default of
192.168.1.1 to another value, your web browser screen
will not complete its refresh after the reboot.
Close that web browser window, open a new web browser window and enter the IP address that you configured for the Systech SL-500.
Login using the default User Name = admin and Password = sysl1nk.
Running the install program
- After configuring the Systech SL-500 using the web
interface, the next step is to transfer the deviceWISE
Asset Gateway install file to the Systech SL-500 and
execute the install script file.
- You can continue with these steps with your
computer directly connected by an Ethernet cable to the
Systech SL-500, or you can connect your Systech SL-500
to your environment's LAN infrastructure.
You may need to change your computer's Ethernet configuration from the temporary settings used - 192.168.1.2/255.255.255.0. - Transfer the downloaded files from the computer to
the /dev/shm directory of the gateway,
using any secure file transfer (SFTP) tool available,
such as WinSCP.
Log on using user = root and password = sysl1nk. - Open a command prompt (shell) on the Systech SL-500
Gateway.
- Log on using user = root and
password = sysl1nk.
At the command prompt, do the following:cd /dev/shm
gunzip DWGateway_Install.Linux-ARM-Systech-SL500.XXX.tar.gz
tar -xvf DWGateway_Install.Linux-ARM-Systech-SL500.XXX.tar
cd dwgateway_systech_sl500
./dwgateway_systech_sl500.install - A message and prompt appears asking if you want to
continue installing the software.
Type Yes (and press Enter). - A license agreement is displayed.
Page down through the license agreement until the end. - You are asked if you agree with the terms of the
license agreement.
Type Yes (and press Enter). -
The install file will display information as it executes the installation and will display
...Installation is complete.
The deviceWISE Asset Gateway software has been installed in the /opt/dw directory.
Uninstalling the Asset Gateway software
NOTE: Before uninstalling the deviceWISE Asset Gateway software, you may want to do a node Back Up using the Workbench in order capture the current application definition and system configuration information.
- Log on to the gateway via SSH.
- Stop the deviceWISE service using the following
command:
/opt/dw/devicewise stop - Remove the deviceWISE application directory
using the following command:
rm -rf /opt/dw
The deviceWISE application has been uninstalled.
Next steps
If you are following the steps in the Getting Started with Gateways guide, you can continue with the tasks described in Installing the Workbench to perform the initial Asset Gateway configuration and to connect the Asset Gateway to the deviceWISE Cloud.
If you are not following the steps in the Getting Started with Gateways guide and need to install the Workbench, you can continue with the tasks described in Installing the Workbench software.
If the Workbench is already installed, see The Workbench in the Gateway Developer's Guide and Reference for information on using the Workbench and the deviceWISE features that it can access.
Install any device driver or extension files that need to be applied to a node using the Packages tab. It is important to have the supported level of the device driver or extension files that match the base run time release level. If there are any questions or concerns, contact your support representative. See Packages for more information on adding device driver and extension files.