A role is created or cloned to define permissions that is granted to a user or an App Token. To add permissions to an existing role, you need to edit a role. To create a role, do the following:
- Click
 (cog menu)
>> Administration, on the top
right corner of the Management Portal.
(cog menu)
>> Administration, on the top
right corner of the Management Portal.
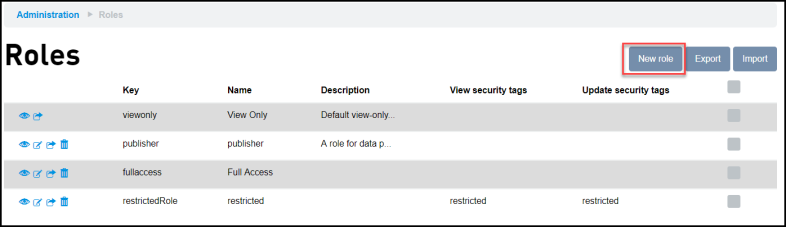
The Administration page appears. - From the Administration page in the ACCESS group, click Roles.
The Roles screen appears. - Click New
role.
The Adding role screen appears. - Enter the following details:
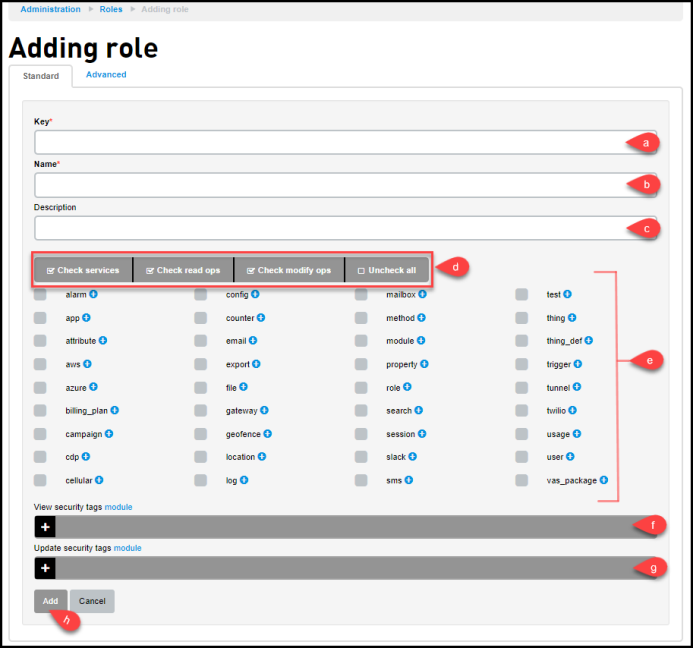
- Enter a Key for the role. The Key is a unique identifier. For more information on keys, see Field Formats and Limitations.
- Enter a name for the role. The Name is a label associated with the role.
- Enter aDescription to store additional information about the role.
- The set of predefined permission buttons
selects specific permissions. The respective functionality of each button is described below:
- Check services: Selects all the available services. For additional information on services, see IoT Portal APIs.
- Check read ops: Selects all the read type commands.
- Check modify ops: Selects all the edit type commands.
- Uncheck all: Unchecks all the services and commands.
- Select the services for the new role. It is possible to give the role access to a subset of all commands within the service, the service should be deselected and the specific commands the role should access should be selected (by clicking the
 expand
icon) or selecting the check box next to a service gives the role access to all commands under that service.
expand
icon) or selecting the check box next to a service gives the role access to all commands under that service.
- Add the View security tags. Either enter the security tags or click the available security tags. The security tags are associated with Things to limit the role's view access to a subset of the Things in the organization.
- Add the Update security
tags. Either enter the security tags
or click the available security tags. The
security tags are associated with Things
to limit the role's update access to a subset
of the Things in the organization.
- Click Add to create the role.