Dashboards are created in two spaces. An organization admin adds a dashboard which is accessible to anyone within the organization. You create your own dashboard that is visible only to you. To create a dashboard, follow the procedure below:
-
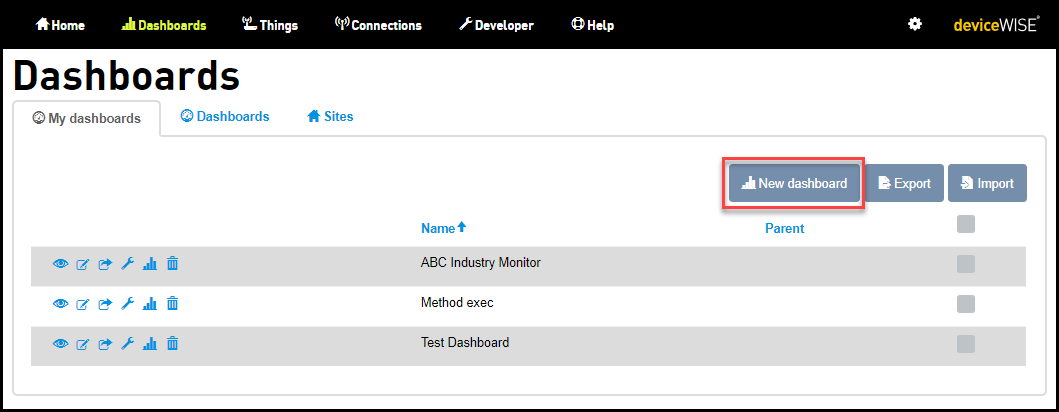
On the Dashboard main screen, click New dashboard
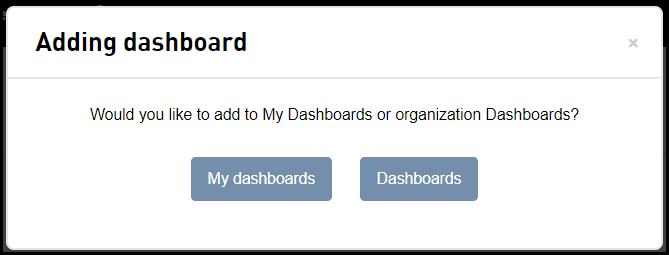
Adding dashboard screen appearsIf you are an admin, then you will get a message asking you to choose from My dashboard or Dashboard. If you are making a Dashboard for the organization, click Dashboard. If you are making a Dashboard for your private view, click My dashboards.
-
Enter or select the following details:

Field Required Description a Name Yes This is the display name of the dashboard b Parent Optional This is the parent of the dashboard. If you clicked My dashboards then it shows all the private dashboards. If you clicked Dashboards then it shows all the public dashboards.
When creating a dashboard, the parent selection is only used by the Navigation widget to be able to generate the relationship tree. This relationship can be defined when editing the dashboard and has no affect on the two other widgets that offer linking related funcionalities (Thing List, Navigation Button).
c Thing definition Optional This puts the dashboard in easy mode, prefilling widget options where a thing definition is required. d Layout type Optional - Relative width: Adjusts the dashboard to the display in which you view the dashboard.
- Defined width: Keeps the dashboard at a set width as designed, no matter the size of the browser window displaying the dashboard.
e Parameter: Tags Optional Filters the dashboard defaults to Things with specific tag or tags. f Parameter: Things Optional Filters the dashboard default to the specified things, comma separated. g Date/time: Relative Yes This sets the dashboard's time range to the last period of time set. E.g. the last 24 hours. h Date/time: Definitive Yes This sets the dashboard's time range to the specified date range. i Date/time: Lock Optional Locks the date/time range so it cannot be changed when displaying the dashboard. j Auto refresh Optional Sets the frequency that the dashboard automatically refreshed the data. k Appearance: Body color Optional Sets the background color of the dashboard in the display view. l Appearance: Body graphic Optional Sets the background graphic of the dashboard in the display view. m Appearance: Widget background color Optional Sets the background color of the widgets in the display view. - Click on Advanced settings, to
set the additional settings for widgets.
- You will be able to set the width (Widget canvas width) of the widget.
- View and edit the Widget configurations in a JSON.
- Change the Widget grid position. For more information on the grid, see Grid System.
- Click Add